The Complete Guide to Restoring Your Older Vehicle

There is an undeniable magic in bringing an older, tired vehicle back to life. Whether it is the nostalgic scent of vintage vinyl, the mechanical purity of a carburetor, or simply the desire to preserve a piece of automotive history, restoring a classic car is a profoundly rewarding journey. However, beneath the romanticized vision of cruising down the highway in a gleaming masterpiece lies a reality of busted knuckles, unforeseen expenses, and hours of meticulous labor. Success in automotive restoration requires more than just enthusiasm; it demands a strategic approach, unwavering patience, and a deep understanding of mechanical and cosmetic processes.
Before turning a single wrench, it is vital to define the ultimate goal of your project. Are you aiming for a “survivor” refresh, where the goal is simply to make the vehicle safe and drivable while preserving its original, weathered patina? Are you building a reliable daily driver that marries vintage aesthetics with modernized reliability? Or are you embarking on a grueling, nut-and-bolt concours-level rebuild designed to win trophies and mirror the day the car rolled off the assembly line? Defining this goal early dictates your budget, timeline, and the level of perfection required for every subsequent step.
This comprehensive guide is designed to walk you through the logical progression of a full vehicle restoration. We will cover the critical journey from the initial teardown and assessment to the intricacies of powertrain overhauls, the nuances of bodywork, and the final touches of interior refinement. By breaking down this monumental task into manageable, systematic phases, you can prevent project fatigue and ensure that your revived classic is safe, reliable, and stunning.
Evaluating Your Project’s Scope and Establishing a Baseline
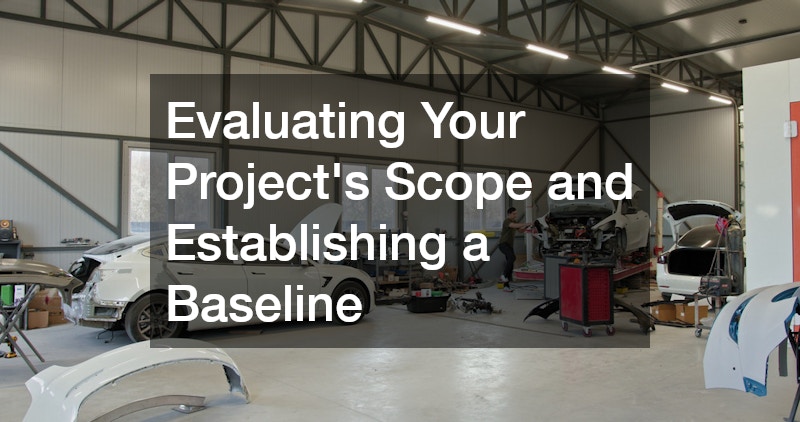
The most critical phase of any restoration happens before the heavy lifting begins. Jumping straight into tearing down an engine or sanding off paint without a clear assessment of the vehicle’s current state is a guaranteed recipe for budget overruns and abandoned projects. You must establish a baseline to understand exactly what you are working with.
Perform a Comprehensive Bumper-to-Bumper Inspection
Begin your restoration with a ruthless, unsentimental evaluation of the vehicle’s chassis, body, and electrical systems. You need to know what is salvageable and what belongs in the scrap bin.
-
Create a Master Tracking Document: Build a detailed spreadsheet to track every component. Categorize parts into “Keep/Refurbish,” “Replace,” and “Missing.” Create columns for part numbers, estimated costs, and actual costs. This document will become your roadmap and financial ledger.
-
Investigate Structural Integrity: Elevate the vehicle safely on jack stands. Use a screwdriver to aggressively poke at the frame rails, floor pans, rocker panels, and suspension mounting points. You are looking to distinguish between harmless surface oxidation and fatal structural rot. If the metal flakes away or the screwdriver punches through, you are dealing with structural compromise.
-
Evaluate the Wiring Harness: Examine the fuse box and trace the main wiring looms. Look for dry-rotted insulation, melted wires, or evidence of previous owners splicing in aftermarket accessories with electrical tape. An electrical fire can destroy a restoration in minutes.
While you can perform much of this inspection yourself, partnering with experienced auto mechanics during this initial phase is highly recommended. A seasoned professional can help diagnose hidden structural flaws or complex electrical faults that an untrained eye might easily overlook, saving you from investing thousands of dollars into a fundamentally flawed chassis.
Drain, Flush, and Baseline All Vital Fluids
If your project vehicle has been sitting idle for years, the fluids meant to protect its components have likely degraded into corrosive sludges and varnishes. Attempting to start or drive the vehicle in this state can cause catastrophic mechanical failure.
-
Purge the Fuel System: Modern gasoline breaks down rapidly. Old fuel turns into a sticky, foul-smelling varnish that will instantly clog fuel lines, pumps, and carburetors. Drop the fuel tank, clean it thoroughly (or replace it if heavily rusted inside), and blow out all hard fuel lines with compressed air before introducing fresh fuel.
-
Inspect the Braking System: Brake fluid is hygroscopic, meaning it absorbs moisture from the air over time. This moisture rusts brake lines from the inside out and seizes calipers and wheel cylinders. Flush the entire system with fresh fluid until it bleeds clear, and carefully inspect all rubber flex hoses for dry rot and cracking.
-
Change Drivetrain Lubricants: Drain the engine oil, differential fluid, and power steering fluid. Inspect the drained fluids for a milky appearance (indicating water intrusion or a blown head gasket) or excessive metal shavings.
Dealing with decades-old, degraded chemicals is a hazardous and incredibly messy process. Utilizing a comprehensive auto repair service for these initial fluid extraction and baseline procedures can save you a tremendous amount of time, prevent toxic spills in your home garage, and ensure the environmentally safe disposal of hazardous waste.
Tackling the Powertrain and Mechanical Heart
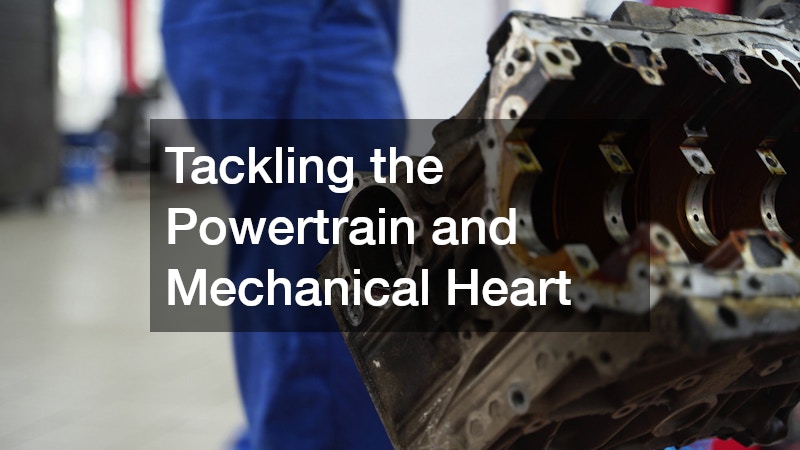
With the vehicle assessed and baselined, it is time to turn your attention to the drivetrain. The engine and gearbox are the beating heart of your vehicle; a beautiful paint job means nothing if the car leaves you stranded on the side of the road.
Assess Engine Compression and Address Fluid Leaks Immediately
Before assuming you need to pull the engine for a total rebuild, you must scientifically evaluate its internal health. A poorly running engine might just need a tune-up, while a seemingly smooth engine could be on the verge of catastrophic failure.
-
Perform a Compression Test: Remove all spark plugs, disable the fuel and ignition systems, and thread a compression gauge into each cylinder. Crank the engine over and record the peak pressure. You are looking for high, consistent readings across all cylinders. A variation of more than 10-15% between cylinders indicates internal wear.
-
Conduct a Leak-Down Test: If compression is low, a leak-down test will pinpoint the exact issue. By pumping compressed air into a cylinder at top dead center, you can listen for escaping air. Air hissing from the exhaust indicates a bad exhaust valve, air from the intake points to an intake valve, and air escaping from the oil filler cap suggests worn piston rings.
-
Replace Critical Seals: If the engine internals are healthy, focus on resealing the exterior. Replace the valve cover gaskets, oil pan gasket, rear main seal, and the water pump. Do not neglect the timing belt or timing chain; if these snap on an interference engine, the pistons will collide with the valves, destroying the motor.
Older imported vehicles present unique challenges during this phase. They often feature complex overhead cam designs, require specialized metric tools, and rely on hard-to-find tuning specifications. Therefore, it is highly recommended to consult experts in european auto repair for complex engine timing, dual-carburetor synchronization, and specialized diagnostic tasks to ensure the engine runs at its peak.
Evaluate the Gearbox for Slippage and Rough Shifts
The transmission is responsible for transferring the engine’s power to the wheels. If it cannot do this smoothly and reliably, the driving experience will be miserable.
-
Manual Gearboxes: Check the clutch pedal for a smooth, linear engagement. If the clutch slips under heavy acceleration, the friction disc is worn out. If the gearbox grinds when shifting into specific gears, the internal brass synchronizer rings (synchros) are likely degraded and failing to match the speed of the gears.
-
Automatic Gearboxes: Drop the transmission pan and inspect the fluid. Healthy fluid should be bright red and smell somewhat sweet. If it is dark brown, smells burnt, or the bottom of the pan is covered in thick metallic sludge, the internal clutch packs and bands are severely worn.
You must perform a careful cost-benefit analysis at this stage. While you might be tempted to simply change the fluid and add a friction-modifying additive to limp a failing gearbox along, this is only a temporary bandage. Ultimately, investing in a full transmission rebuild is the only way to guarantee that your drivetrain can reliably handle the stresses of modern highway speeds and stop-and-go traffic without failing.
Eradicating Rust and Smoothing the Canvas
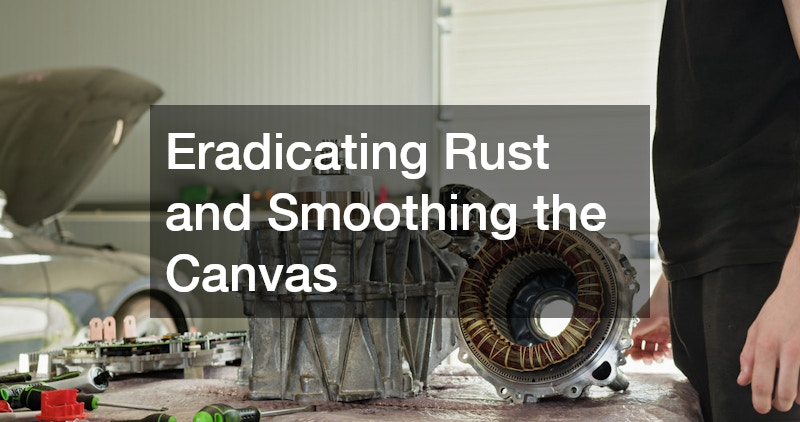
Once the mechanical components are sound, the focus shifts to the exterior. Bodywork is often the most time-consuming, expensive, and frustrating part of a restoration. The quality of your final paint job is entirely dependent on the countless hours spent preparing the bare metal beneath it.
Strip Old Paint and Neutralize Surface Oxidation
You cannot build a solid house on a crumbling foundation, and you cannot lay beautiful paint over failing primer, hidden rust, or layers of cracked body filler. Taking the car down to bare metal is the only way to know exactly what you are working with.
-
Choose a Stripping Method: * Media Blasting: Using crushed glass, aluminum oxide, or walnut shells to blast away paint and rust is highly effective for intricate areas like engine bays and door jambs. However, the heat generated by aggressive blasting can easily warp large, flat panels like the roof and hood.
-
Chemical Strippers: Aircraft-grade paint strippers dissolve old paint safely without risking panel warpage, but they are incredibly toxic, require heavy ventilation, and create a massive mess.
-
Mechanical Sanding: Stripping paint by hand using a dual-action (DA) sander is safe for the metal but incredibly labor-intensive.
-
-
Treat and Convert Rust: Once bare metal is exposed, you will likely find pitting and surface rust. Treat these areas immediately with a phosphoric acid-based rust converter. This chemical reacts with the iron oxide (rust), turning it into a stable, black, paintable surface called ferric phosphate, preventing the rust from spreading.
Tackling large-scale sheet metal replacement is not for the faint of heart. If your floor pans resemble Swiss cheese or your quarter panels are heavily rotted, simply patching them with fiberglass is a terrible practice. Heavy structural rust excision, custom panel fabrication, and precision MIG or TIG welding are complex skills best outsourced to a professional auto body shop to ensure the vehicle retains its structural rigidity and safety in a crash.
Massage Out Minor Imperfections Before Priming
With the rust mitigated, the next step is making the body panels perfectly straight. Even metal that looks flat to the naked eye will reveal hundreds of tiny ripples and low spots once glossy paint is applied.
-
Apply Epoxy Primer: Seal the bare metal immediately with a high-quality, two-part epoxy primer. This locks out moisture and provides a strong mechanical bond for any body fillers you will need to apply.
-
Use Guide Coats: Once your initial filler and high-build primer are applied, spray a light, misted coat of contrasting black paint (a guide coat) over the entire panel.
-
Master the Block Sanding Technique: Using a long, rigid sanding block, sand the panel in a diagonal, cross-hatching “X” pattern. The sanding block will hit the high spots, removing the guide coat, while the guide coat will remain trapped in the low spots (dents and ripples). You must continue adding filler and sanding until the guide coat disappears evenly, indicating a perfectly flat surface.
If your vehicle features original, rust-free sheet metal that simply suffers from decades of parking lot door dings and minor hail damage, you want to avoid smothering it in body filler if possible. Exploring paintless techniques or hiring a specialist for professional auto dent removals allows you to massage those minor imperfections out from behind the panel, preserving the original steel and minimizing the risk of thick filler cracking down the road.
Restoring Visibility and Structural Integrity to the Cabin
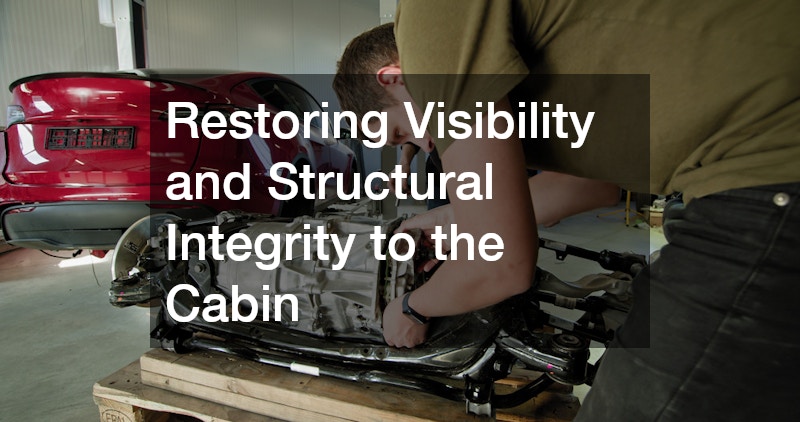
As the bodywork nears completion, it is time to address the vehicle’s greenhouse. The glass and weatherstripping on an older car are subjected to decades of UV radiation, extreme temperature fluctuations, and environmental fallout, leading to leaks, wind noise, and severe visibility issues.
Seal Micro-Cracks and Polish Out Wiper Scratches
Original, factory-stamped glass is a highly sought-after detail in classic car restorations. If your side windows or rear glass are structurally sound but suffer from cosmetic wear, it is often worth the effort to save them rather than replacing them with aftermarket reproductions.
-
Assess the Damage: Run your fingernail over the scratches on the glass. If your nail catches in the scratch, it is generally too deep to polish out safely without distorting the optics of the glass. If your nail glides over it smoothly, it is a candidate for polishing.
-
Polish with Cerium Oxide: Cerium oxide is a rare-earth mineral compound specifically designed for polishing glass. Mix the powder with water to create a slurry, and apply it to a felt polishing pad attached to a rotary buffer. Work in small sections, keeping the glass cool with a spray bottle of water. Excessive heat from the buffer can easily shatter tempered glass.
While polishing is excellent for removing light hazing and wiper tracks, it cannot fix structural damage. If your windshield has suffered from flying road debris, leaving behind starbursts, bullseyes, or deep gouges, you cannot simply polish them away. Fixing these actual chips requires specialized resin injection and vacuum curing via professional car glass repair to stabilize the flaw and prevent a tiny crack from spiderwebbing across your entire line of sight.
Replace Delaminated Windshields and Brittle Weatherstripping
If the windshield is heavily pitted, delaminating at the edges (where the layers of glass and plastic begin to separate and turn milky), or severely cracked, replacement is the only safe option. Similarly, all the rubber seals keeping the cabin watertight must be replaced.
-
Address the Pinch Weld: When you remove the old windshield, you will expose the metal channel it sits in, known as the pinch weld. This area is notorious for trapping moisture and hiding severe rust. You must thoroughly scrape away all the old, hardened butyl tape or urethane adhesive. Treat any surface rust with a converter, prime the bare metal, and ensure the channel is perfectly clean before installing new glass.
-
Replace Door and Trunk Seals: Peel away the rock-hard, brittle weatherstripping around the doors, trunk lid, and window channels. Clean out the old adhesive with a solvent like an adhesive remover or mineral spirits. Install fresh, supple rubber seals using the correct weatherstrip adhesive, ensuring the doors close snugly without requiring excessive force.
Sourcing and safely installing rare, curved vintage windshields is a high-risk, high-stress task. Older glass is incredibly fragile, and getting the exact alignment right with modern urethane adhesives requires precision. Hiring specialized auto glass services ensures a watertight, wind-noise-free seal and protects your expensive replacement glass from shattering during the delicate installation process.
Reviving the Interior and Protecting the Final Finish
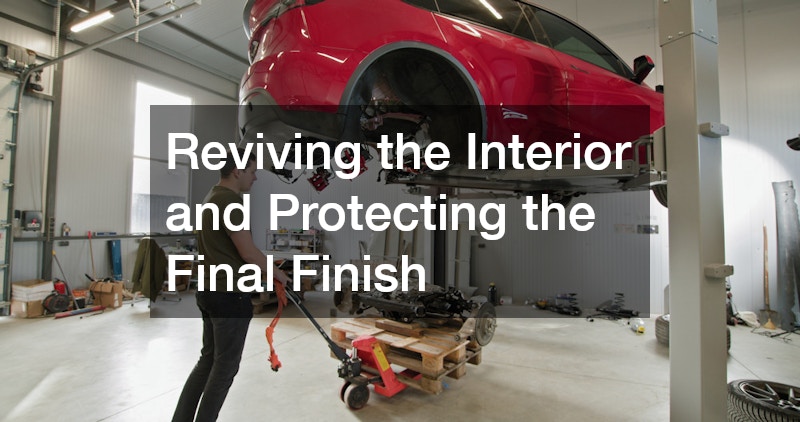
The final stages of a restoration bring the project together, transforming it from a mechanical project into a comfortable, drivable machine. This phase focuses on modernizing cabin comforts and ensuring your painstakingly prepared exterior remains pristine for years to come.
Retrofit Climate Systems for Modern Refrigerants
Driving a classic car in the heat of summer can be an exhausting, sweaty experience if the air conditioning system is defunct. Reviving an old HVAC system usually requires modernization to comply with current environmental regulations.
-
Flush the System: Older vehicles originally utilized R-12 refrigerant, which circulated with a specific mineral oil. Modern refrigerants are entirely incompatible with this old mineral oil. Every component of the system—the evaporator core, condenser, and hard lines—must be aggressively flushed with a specialized chemical solvent to remove all traces of the old oil.
-
Upgrade Components: The rubber O-rings used in R-12 systems will degrade and leak when exposed to modern refrigerants. You must replace every single O-ring in the system with green, HNBR (Hydrogenated Nitrile Butadiene Rubber) O-rings. Additionally, you must install a brand new receiver-drier or accumulator, as the desiccant inside the old one is likely saturated with moisture and debris.
Because vintage R-12 refrigerant is heavily regulated, environmentally damaging, and astronomically expensive to source legally, attempting to revive a legacy system in your driveway is ill-advised. Navigating these complexities makes professional auto ac repairs necessary to legally evacuate any remaining old gasses, vacuum test the system for microscopic leaks, and properly convert the infrastructure to modern R-134a or R-1234yf cooling standards.
Seal and Shield the Fresh Paint from Environmental Damage
After spending thousands of dollars and hundreds of hours perfecting the bodywork and applying a beautiful, deep paint job, your final responsibility is to protect that investment.
-
Allow the Paint to Cure: Do not apply any waxes, sealants, or coatings immediately after the car leaves the paint booth. Fresh clear coat needs time to “outgas”—a process where the solvents in the paint evaporate and escape. Sealing the paint too early traps these solvents, leading to a cloudy, hazy finish or premature paint failure. Most painters recommend waiting 30 to 90 days before applying any protective layer.
-
Final Paint Correction: Even the best paint jobs will have minor imperfections, such as tiny dust nibs, slight orange peel texture, or faint swirl marks from the initial buffing process. Once the paint is fully cured, perform a final, meticulous paint correction using fine-grit polishes and a dual-action polisher to bring out an absolute mirror finish.
Once the paint is flawless and the surface is stripped of all polishing oils using an isopropyl alcohol wipe, you should apply a durable, modern protective layer. Traditional carnauba waxes look beautiful but melt away in a matter of weeks. Instead, consider applying a high-quality auto ceramic coating as the ultimate final step, as it cross-links with the clear coat to lock in the deep gloss and creates a semi-permanent, hydrophobic barrier that repels bird droppings, harsh UV rays, and corrosive hard water spots.
Conclusion
The journey of restoring an older vehicle from a forgotten, rusting relic into a gleaming, road-ready machine is one of the most challenging and satisfying endeavors an automotive enthusiast can undertake. It is a process that tests your problem-solving skills, your financial discipline, and above all, your endurance. The transformation you facilitate—rescuing a piece of design and engineering from the scrapyard and putting it back on the asphalt where it belongs—is a testament to your dedication.
Remember that a successful restoration is a marathon, not a sprint. There will inevitably be moments of profound frustration: a snapped bolt, a part that doesn’t fit, or a hidden rust hole that sets you back weeks. Embrace these hurdles as part of the learning process. Take your time, prioritize safety above all else, and never compromise on the mechanical integrity of the vehicle. The reward for your patience is not just a beautiful car, but the unparalleled pride of gripping the steering wheel, turning the key, and listening to an engine roar back to life because of your own two hands.
If you are currently in the middle of a teardown, wrestling with wiring, or finally prepping for paint, keep pushing forward. Document your progress, celebrate the small victories, and share your current restoration projects in the comments below, or bookmark this guide as a reference manual for your garage workbench. The open road is waiting for your classic.